

A Step-By-Step Guide To Potty Training Your Little One
Looking for the best way to potty train your little one? Here are valuable potty training tips as well as a 7-day training schedule you can follow.
In this article:
- How to Potty Train Your Little One in 7 Days
- 7-Day Potty Training Schedule
- Bonus: Important Reminders While Potty Training
This post may contain affiliate links. For my full disclosure policy click here.
RELATED: How to Wean Your Baby Off Of Pacifiers
How to Potty Train Your Little One in 7 Days
Step 1: See If Your Little One Is Ready
Most toddlers exhibit signs of readiness around the age of 22-24 months old. Watch your child carefully for signs of consciousness to pee and poop, as well as being ready to learn something new.
Learning how to use the potty is a whole new skill for your little one. Make sure they’re ready by watching out for these signs:
- They’ll be whining or making a big fuss to have their diapers changed because they don’t like the feeling of wetness. You should also watch out for signs of discomfort in their facial expressions and posture.
- They’re announcing when they have to go using simple words like pee-pee and poo-poo.
- They’re no longer sleeping in a crib but in a big kid’s bed.
- Your child can stay dry for an hour while they’re up and about or at least two hours during their naps. This means they’re showing the ability to “hold it in” for quite some time.
- They have expressed their interest in wearing big kid’s underwear instead of a diaper.
- Your little one can follow simple instructions such as going to the bathroom, sitting down, or taking off and putting on their clothes.
Step 2: Make Sure It’s a Good Time for Potty Training
The best time to teach your child this new skill is when they’re relaxed and your family has a regular routine.
If your child or the whole family is going through a stressful or transitional period, it’s probably not the best time to start training. Big events like going on a vacation, moving houses, introducing a new family member, or a divorce will greatly affect your child.
Choose to postpone the training at least a month after any big home event.
Step 3: Talk About the Potty for Big Kids
Weeks before you start potty training your child, start talking about it. Try to grab their interest by talking about how it’s what the big kids do and they’ll be one soon.
You can even bring it up in random conversations like asking if your child thinks their favorite cartoon character goes potty. You should also leave some books on potty training around the house.
If your child hasn’t been conscious enough about going to the potty, these tips will help. It’s important to raise their awareness of the topic as well as making them feel comfortable about. Make sure it’s established as a normal and regular thing for everyone.
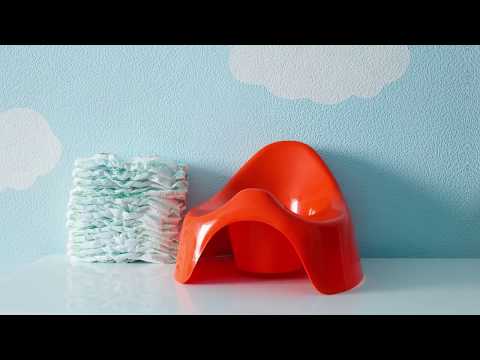
Step 4: Choose the Right Potty
https://www.instagram.com/p/BpjwbxSBi4k/
There are different kinds of potties on the market, and you may be overwhelmed at choosing the right one. Here are a few things to consider when choosing the right potty for your child:
- Stand-alone or potty seat: If your child has no problem with your bathroom and can reach the toilet, you can buy a potty seat to place on top to make the rim smaller. A stand-alone potty is more suitable for children who can’t reach the toilet, and if you’re teaching them outside of the bathroom.
- Fit and size: It’s important to keep your child comfortable on their potty. The height of the potty should be just short enough, and the rim must be the right size to fit their bottom. To be safe, bring your child with you and have them sit down on each one to test it. This will also give them a sense of joy in choosing their own potty.
- Fun and entertaining: Another great thing about bringing your child with you to buy a potty is they’ll choose the most interesting one. Let them choose one with sound effects, lights, or fun stickers.
- Easy to empty: Of course, you’ll be the one cleaning up the potty when they’re done so suggest ones that are easy to empty. Stand-alone potties are a lot harder to clean, but some potties can take no more than two steps to clean up.
- Splash guards for boys: To spend less time cleaning, look for a potty with a high-enough splash guard. The splash guard will help keep the pee in. The right height means your child can still sit down with their feet flat on the floor.
Step 5: Decide on the Right Placement
It may not be a good idea to keep the potty in the bathroom on the first day. Some children have an irrational fear of falling into the toilet or its flushing sound.
Place the stand-alone potty in your child’s bedroom or their playroom so they’ll be able to get comfortable with it. Then move the potty in the bathroom once your child is ready and slowly move on to the potty seat.
If your child feels comfortable in the bathroom, start by placing the potty seat on top of the toilet. Remember to keep a step stool nearby so your child can reach the toilet. It’s also important that they have the support of the step stool and are able to keep their feet flat on top of it.
Step 6: Make the Potty Accessible and Well-Lit
There are times when you won’t be watching your child and they’ll learn how to go to the potty on their own. They can only do that if the potty is always accessible to them.
As previously mentioned, your child can’t be in a crib so they can go potty whenever they need to. The room should also be unlocked or leave the door open if they can’t reach the handle yet.
If the potty is in another room, you should always keep the hallway towards the bathroom or playroom well lit, especially during night time. This will make them feel comfortable and safe walking without having to wake you for guidance.
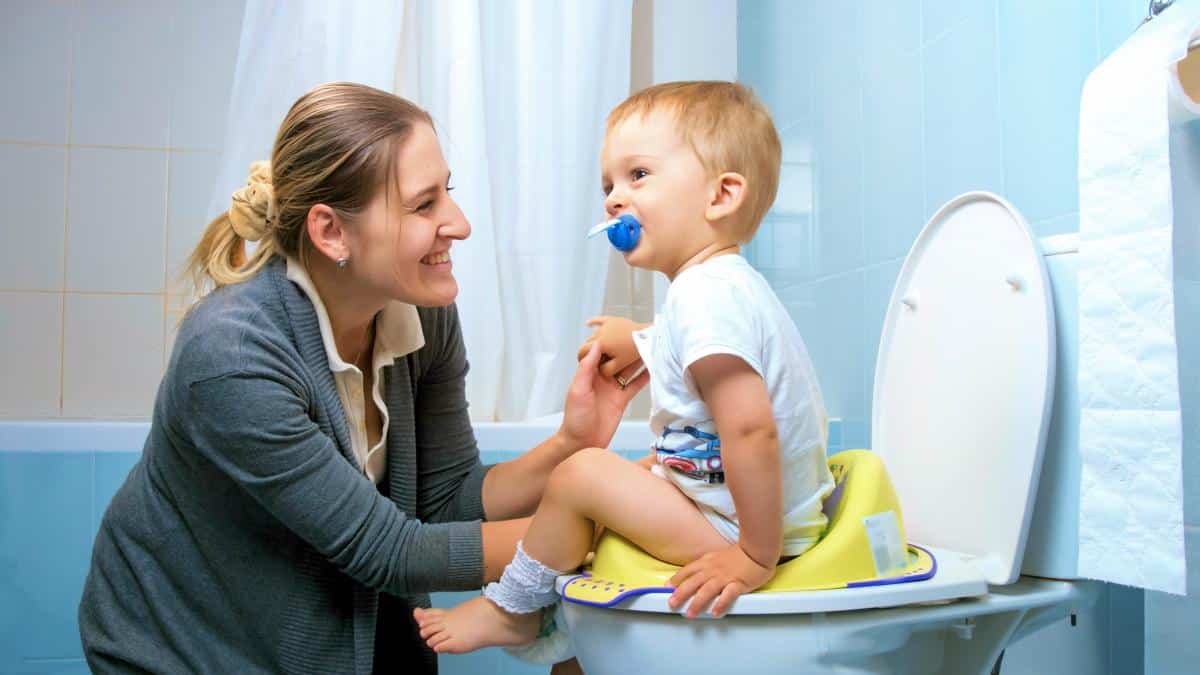
Step 7: Let Your Child Get Used to the Potty

Once you’ve bought and placed the potty, it’s time to let your child get comfortable and familiar with this new object. Stay with them in the bathroom and let them sit on the potty while fully clothed until they’re comfortable in their seat.
Another way to get your little one familiar with the potty is by creating a habit. Set up key times during the day where you and your child will go to the potty and let them sit on it.
Start by going every two hours, when they wake up, right before naps and bedtime, or before leaving the house. If you do this enough times, it’ll start turning into a habit they do on their own.
When they express their need to go to the toilet, you can also encourage them to use the potty instead. As much as possible, walk them through it by telling your child to remove their pants and underwear first, and then sit on the potty for a few minutes.
Wait with your child. To pass the time, you can play a game or read a book.
Step 8: Remember to Teach Proper Hygiene Every Time
It’s very important to teach your child proper hygiene while potty training. Every time they go to the potty, whether or not they actually pee or poo, remind them to wipe, flush the toilet, and wash their hands afterward.
Assist them in washing their hands with warm or cool running water and lathering their hands with soap. Be sure to help them practice scrubbing their hands for at least 20 seconds.
You can turn this into a fun game by making sound effects or narrations of a germ-fighting scenario or simply try singing a catchy tune reminding them to wash between the fingers as well. You’ll be surprised to hear your child singing while washing their hands on their own.
RELATED: What Does Baby Poop Color And Texture Mean?
Step 9: Start a Praise and Rewards System
Every time your child successfully uses the potty, whether or not they actually go, always offer praise and a small reward. Tell them how much of a big kid they have grown into and how proud you are. Always mention the benefits of wearing the big kid’s underwear where they never have to have their diapers changed.
Keep the rewards small so you won’t overwhelm them. Try using stickers you put up on their bedroom wall or the kitchen fridge.
Then every time they reach 3-5 stars, reward them with simple things like a long day at the park, a surprisingly sweet drink, or an extra 30 minutes watching TV. There’s no need for large tangible objects like a new toy.
On the other hand, whenever accidents occur while you’re potty training, never use a punishment system on your child. This will only discourage them and make the whole training a lot more difficult.
Understand that accidents will happen for years to come, and it’ll hinder their learning to be punished for peeing or pooping. You will probably cause more long-term problems if your child is scared to come to you in the event of an accident.
Step 10: Be the Example and Let Your Child See
Kids learn best from example. They see what you do and try to mimic it because it may be easier than following directions. A week before starting their 7-day training, show them that you go to the potty, too.
Make a scene when you have to go to the toilet using exaggerated behavior like grabbing your pants, jumping from one foot to the other, and having an apprehensive look on your face. It helps to also say out loud that you need to go pee or poo.
This will grab your child’s interest and curiosity enough to follow you into the bathroom. Let your child be in the room while you do your business, but it’s completely okay if you’re not comfortable with that.
You can always play pretend and do all the necessary actions afterward like wiping, flushing, and washing your hands. Do this at least twice in a day to let them know it’s a regular thing even adults do.
Step 11: Buy New “Big Kid’s Underwear”
https://www.instagram.com/p/Bpzqv_dHyxg/
The week before or a few days before starting their potty training, take them out shopping for new big kid’s underwear.
These are 100% cloth training pants that look like real underwear but have thicker padding in the middle for accidents. Make sure they’re not pull-ups or have a plastic lining on the outside because if it feels like a diaper, your child then they will treat it like one.
The purpose of this new underwear is to let your child feel a little more grown up. This will help ease them into the idea that being grown up comes with more responsibilities like going to the toilet.
Make a big deal about how well it fits them, and then explain they’re nothing like diapers. Then the night before the training, remind your child they’ll start being a big kid tomorrow and they get to wear their new underwear.
7-Day Potty Training Schedule
Day 1
In the morning, greet your child by telling them they’re a big kid now and replace their diaper with the new training pants you bought beforehand. Don’t put on any pants over the underwear so they’ll have an easier time removing it if they need to go to the toilet.
Throughout the first day of potty training, try to increase your child’s thirst by offering them more dry snacks. Then offer plenty of drinks like water, juices, or milk. Let your child feel their bladder filling up to let them consciously relate the act of drinking to peeing.
Then every hour, take your child to the potty and help them take their underwear down. Let them sit on the potty and try to encourage your little one to pee through simple phrases like “pee-pee time.”
Wait with them for a couple of minutes because it won’t easily come to them for the first two days. Try waiting for 5 minutes before praising them for a good try.
Day 2
Be prepared for your child to wet themselves during the first two days of potty training. Try to persevere and keep yourself from being frustrated because this does take time.
If they wet themselves, be gentle and say things like “Oh no! An accident!” or “Ewwy, stinky” to keep them conscious about their pee and poo, but no matter what happens, don’t go back to the diaper during the day. This will create confusion and will set back the potty training.
During nap time, refrain from offering a diaper. Instead, leave a folded or thick towel under your child in case they wet themselves.
If they do, offer the same comments, but if they didn’t, with excitement, take them to the potty as soon as they wake up. When it’s bedtime, take them for one last trip to the bathroom. Then put on a diaper before they go to bed.
Tip: After being sad because of their accident, always offer a way to redeem themselves like telling them they will get it next time and praise them for a job well done.
Days 3 and 4
During days 3 and 4, continue to offer your child dry snacks and lots of drinks. You’ll notice they will start going to the bathroom a lot more to pee and most likely poo in the potty every time. Keep an eye on your child especially when they show signs of having to poo.
In case they don’t make it, let them watch you throw the poo into the toilet and encourage them to wave bye-bye to it. Let them flush the toilet or hold their hand if they’re too nervous.
Days 5 and 6
Days 5 and 6 are all about fine tuning everything you’ve taught and shown your little one. They’ll have a better concept of this new skill around this time to return to your regular schedule when it comes to snacks and drinks.
Every hour, continue to ask if your child needs to go to the potty. It’s especially important to do this when they’re too focused on a show or playing because they might forget or not notice.
Day 7
https://www.instagram.com/p/Bpc4-k6ne0Z/
Day 7 is a big one. It’s time to take your little one on a trip outside of your house. Don’t forget to let your child pee before you get in the car.
Then once outside, ask if they need the potty every hour. Try not to stay outside for too long or keep the trip under 2 hours to not overwhelm them. This is a test for your child and a way to let them know that people leave the house and control their bladder until they’re near a toilet.
After your 7-day potty training, continue to let your child sleep in a diaper. If two weeks go by without an accident, it’s time to start letting your little one sleep in their underwear.
Bonus: Important Reminders While Potty Training
Be Prepared for a Setback
There will be days when your child will become frustrated or scared and will ask for the diaper again. It’s better to allow them to go back instead of watching them withhold their bowel movements which can lead to health problems.
Agree to a short break from using the potty but make sure to resume it. Always ask your child if they’re ready to wear underwear again even if it’s just for a couple of hours. The key is to ease them back into the idea of using the potty and not wearing diapers.
Take Your Time
Potty training isn’t a race. If other kids are already using the potty on their own but your child isn’t, that’s normal.
Everyone learns a new skill at their own pace. It can take your child 3 days or a little over a month to use the potty, and then a year to finally stop wetting the bed. Be sure to have patience with your child and continue to praise them for a successful trip to the potty.
Potty training may seem like a daunting task, but it doesn’t need to be! Watch this video from Bright Side and learn how to wean your toddler off diapers with these training methods:
Some potty training tips won’t always be accurate because every child learns at a different pace. These steps and tips are great foundations for finding you and your child’s best way to unlock this new skill.
The most effective way to potty train your little one is to watch and listen to them. Most importantly, have patience and always encourage your child.
Do you have more questions or concerns about potty training? Mention them in the comments section below!
Up Next: